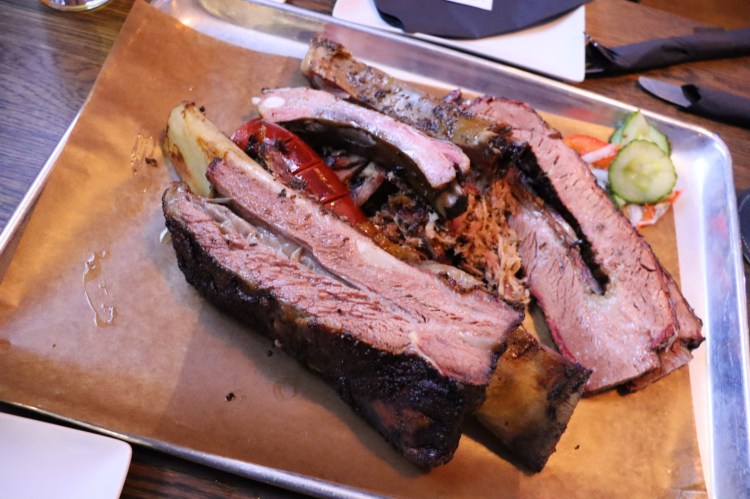
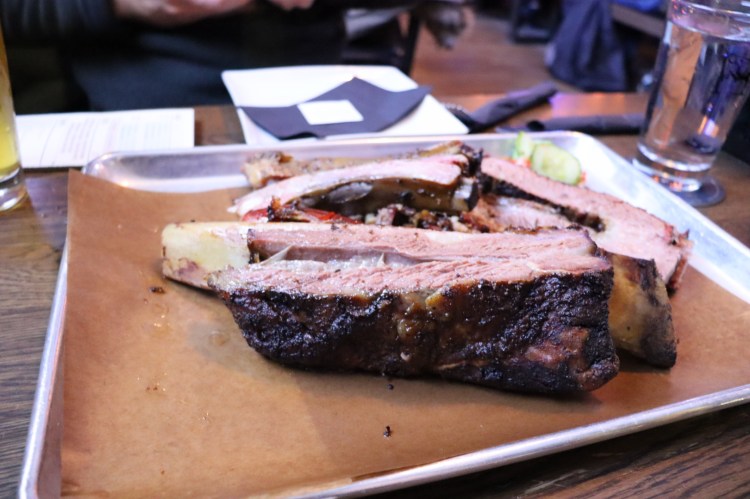
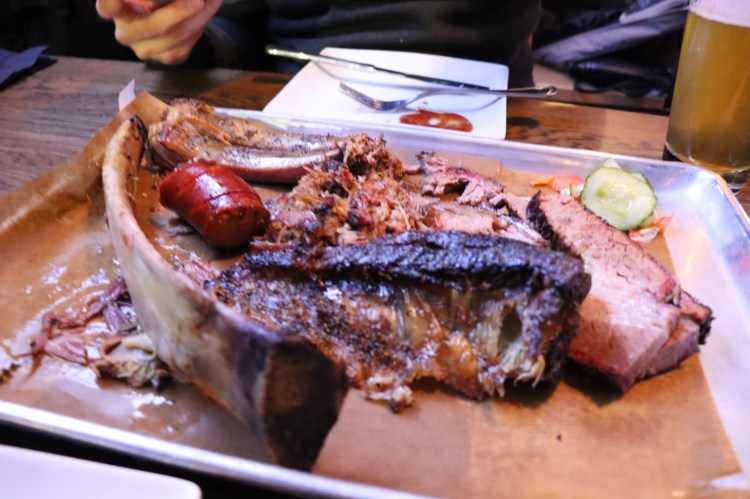
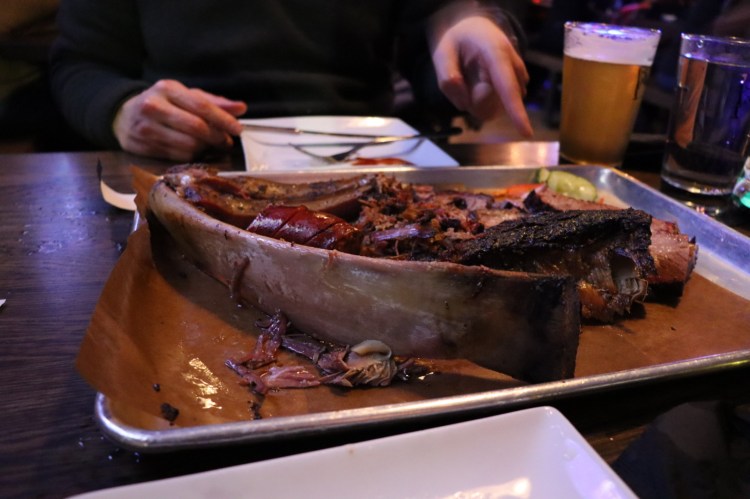
Located on Kensington Road NW in Calgary, this awesome place threw me for a loop. When my friend Ivy said she would take me to the best BBQ place around, of course my initial reaction was intrigue mixed with skepticism and curiosity. After already having supper, we decided to have dessert. What better dessert than meat and drinks XD. I still had room but very little. Even so, when I tasted the meat with some Belgian light beer I was more than satisfied. First reaction was OH MY FREAKIN’ GOODNESS!! I had never tasted such tender and perfectly smoked and seasoned beef ribs. No doubt in my mind that I would return to Calgary for a chance to taste these once again.
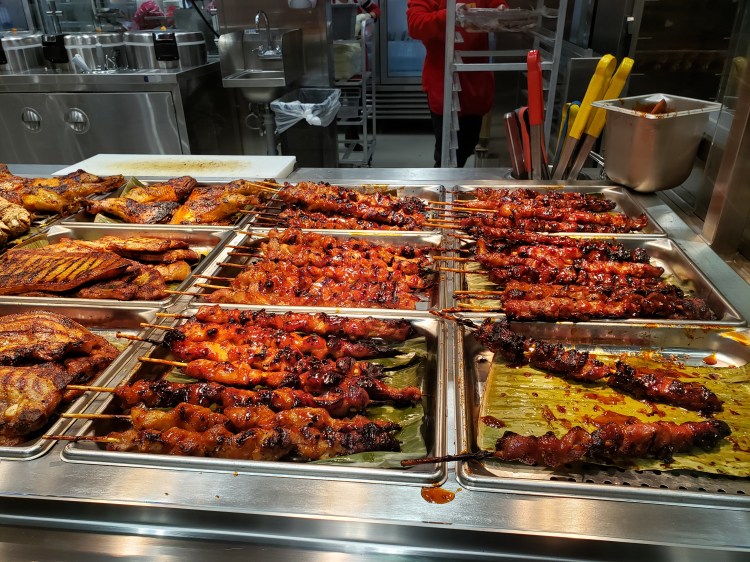
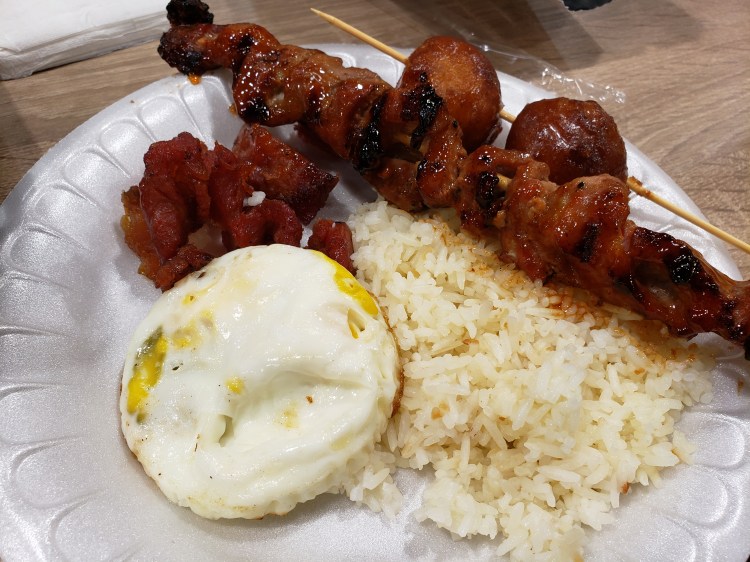
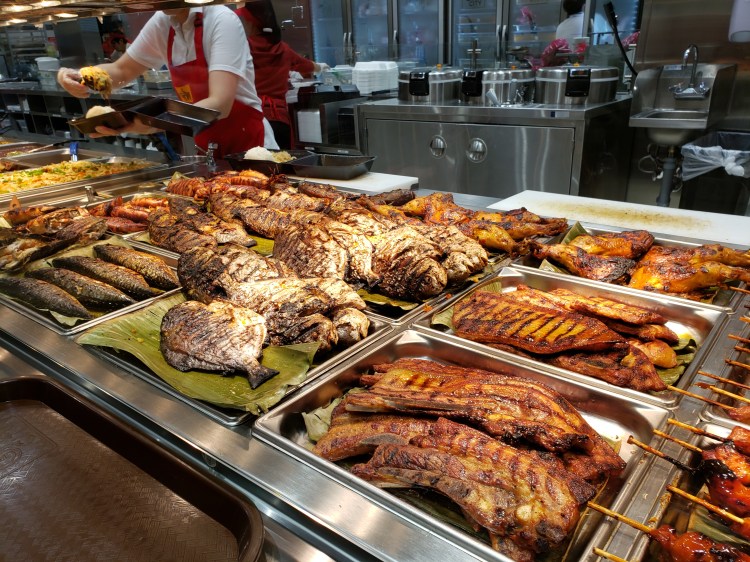
One Saturday morning after working until midnight the night before, I came into work only to find that I wasn’t scheduled to work. I was about to go back home and sleep when I suddenly remembered Seafood City is open at 8am. I called up my buddy Ron as he was about to get off from an overnight shift and then headed over to his neck of the woods to have some mighty fine breakfast. This place is a Filipino grocery store that has a food court serving some Filipino food. Think T&T except Filipino style. As I waited for my friend to arrive, I had a chance to browse through the merchandise and getting hungry at the same time at the smell of the amazing eats. I gotta say while walking through the aisle that I did feel a bit nostalgic and it did evoke familiarity…it felt like home. There were grocery contents are from all over Asia as well as a meat and fish market in the back. The food court consisted of three separate stalls which are Crispy Town, Grill City and Noodle Street. I wanted to get something from each location but ended up not checking out Noodle Street. The food selection was crazy and it was only breakfast. Suffice it to say my eyes were bigger than my stomach and I didn’t get to finish my Tocilog, BBQ pork skewers (x4), kareoka skewers (x2) and thick mango drink. After a good breakfast with some nice talks, it was finally time to go for a long drive back home and sleep. Although it is quite out of my way, I will definitely come back and get some ube ice cream and maybe some fish.
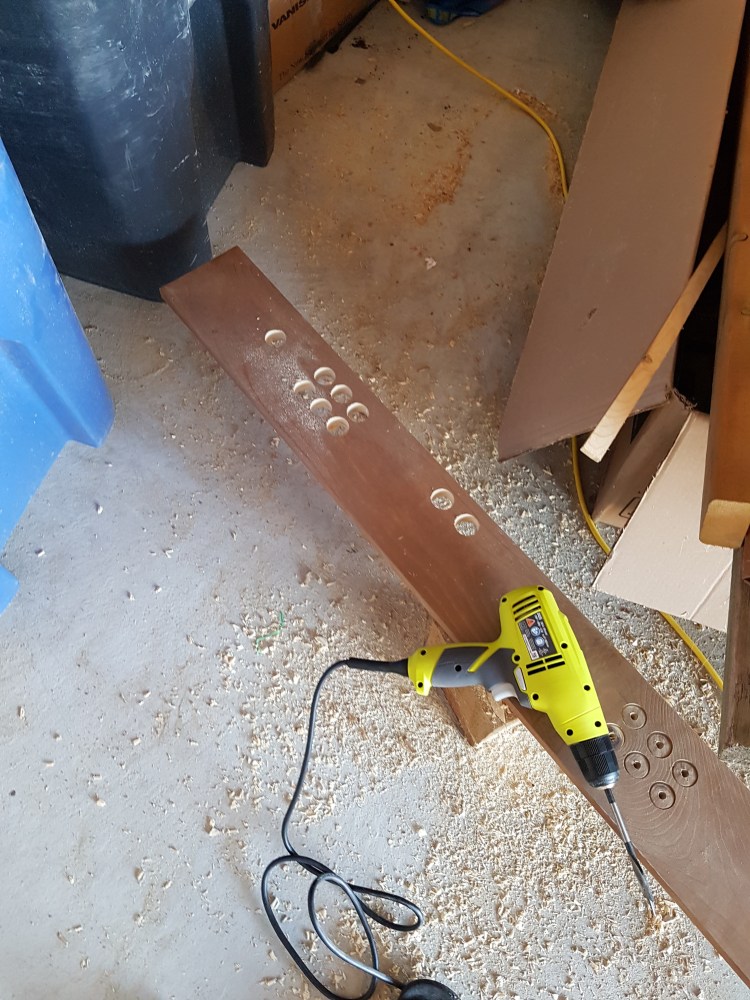
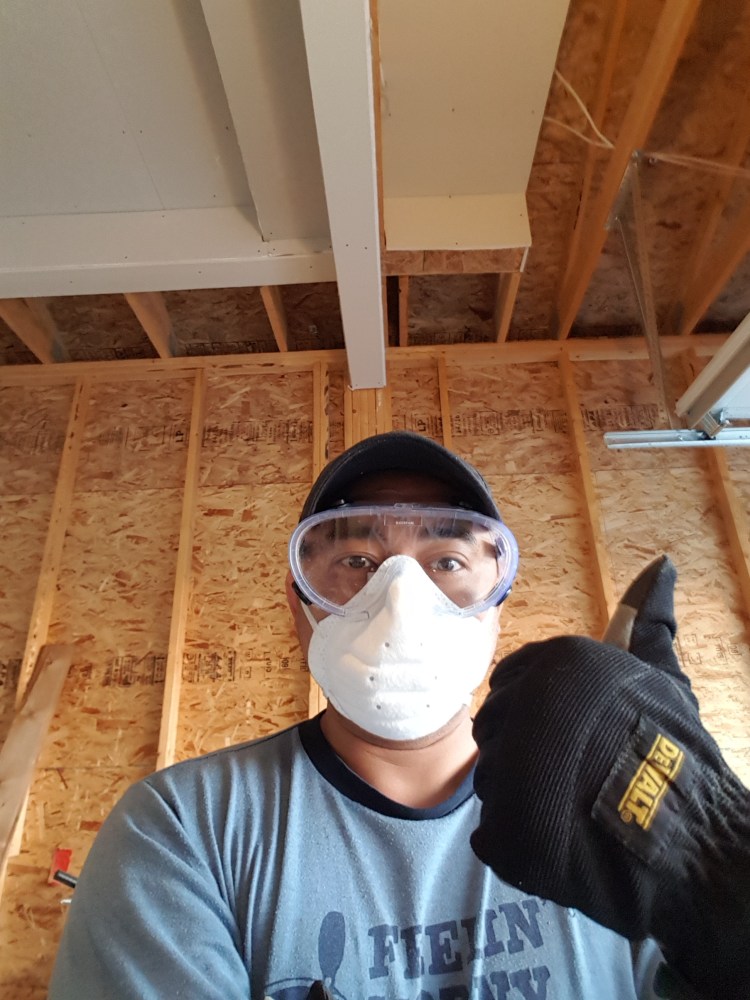
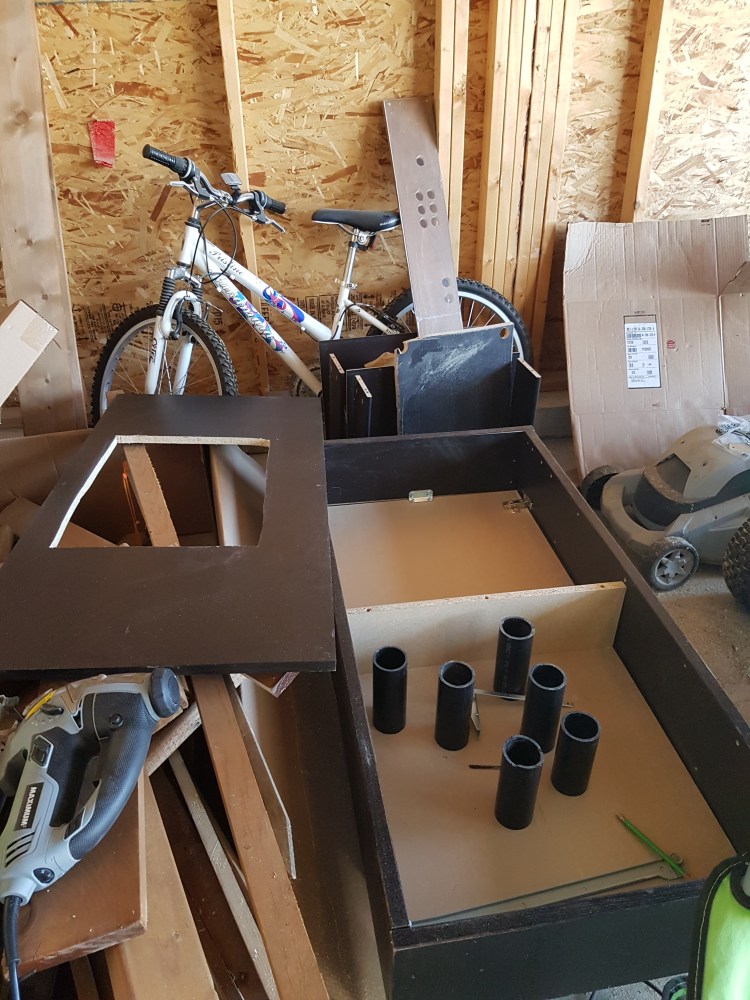
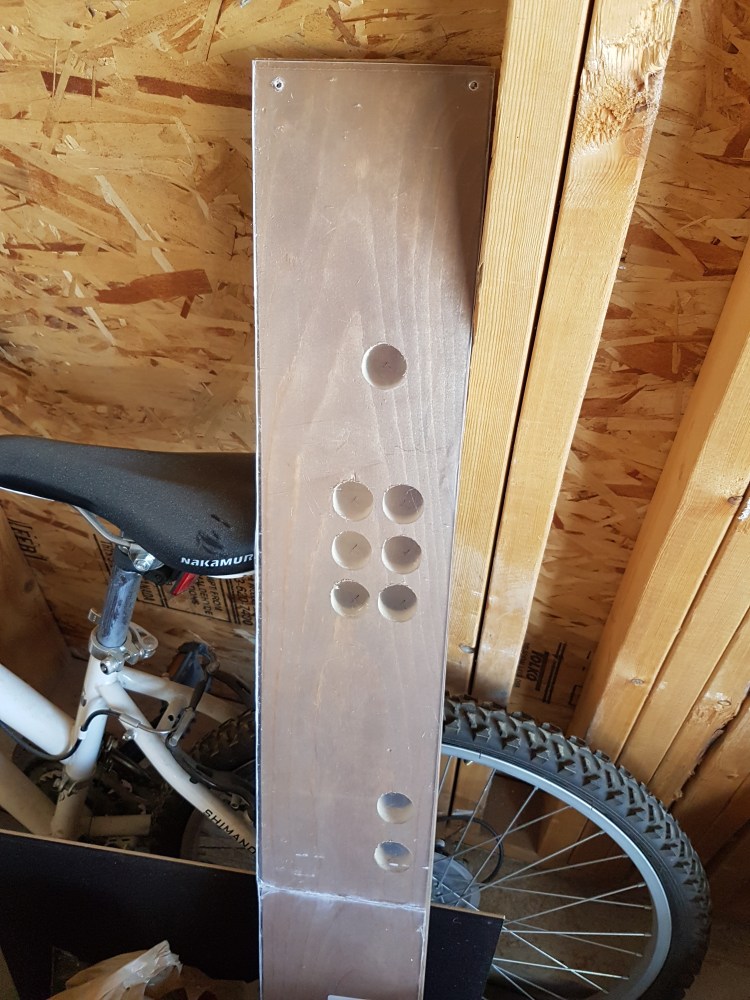
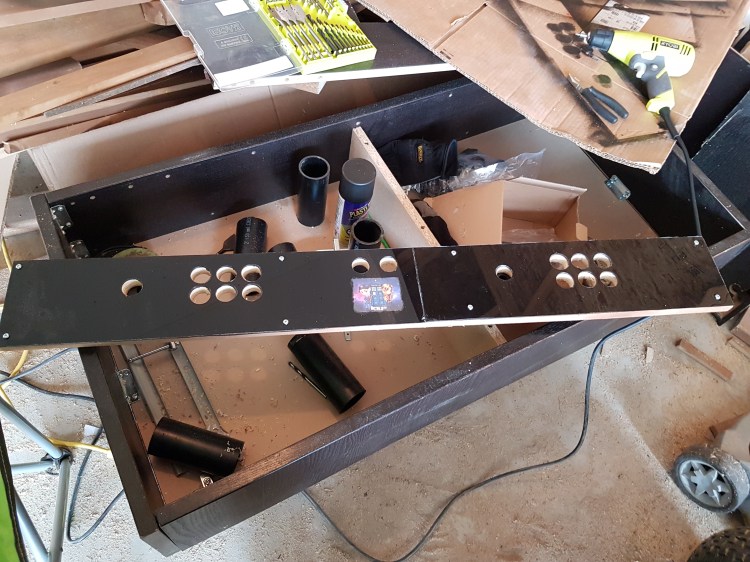
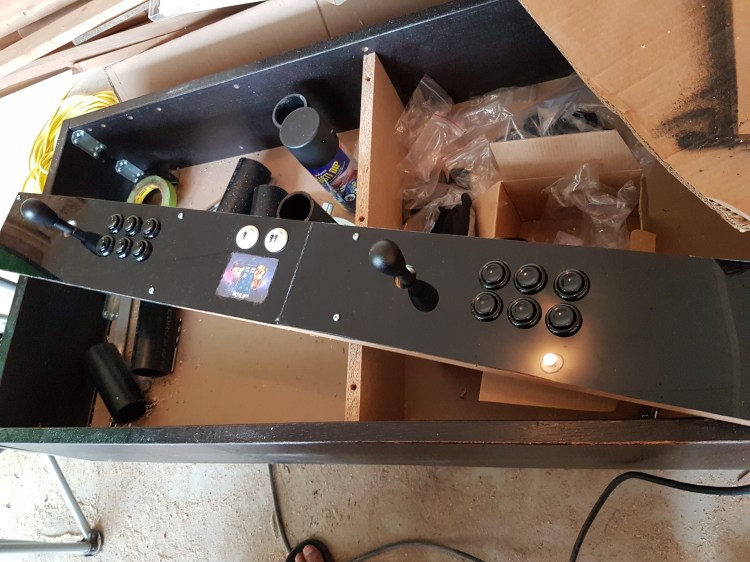
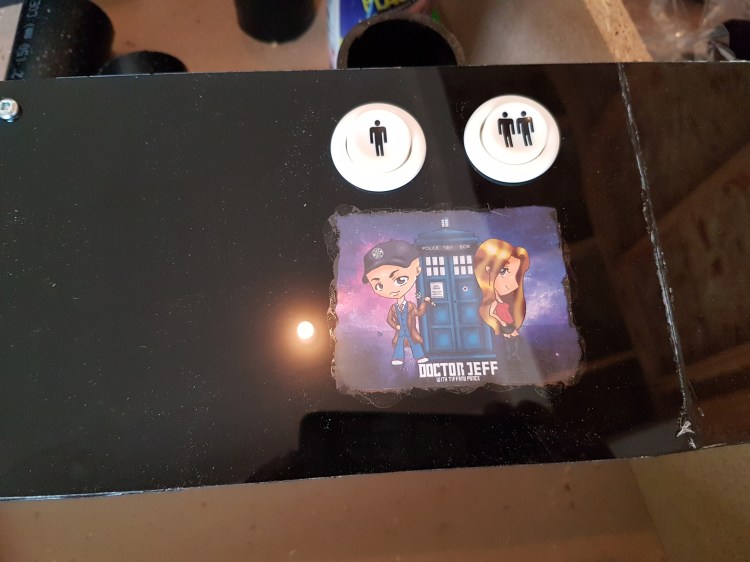
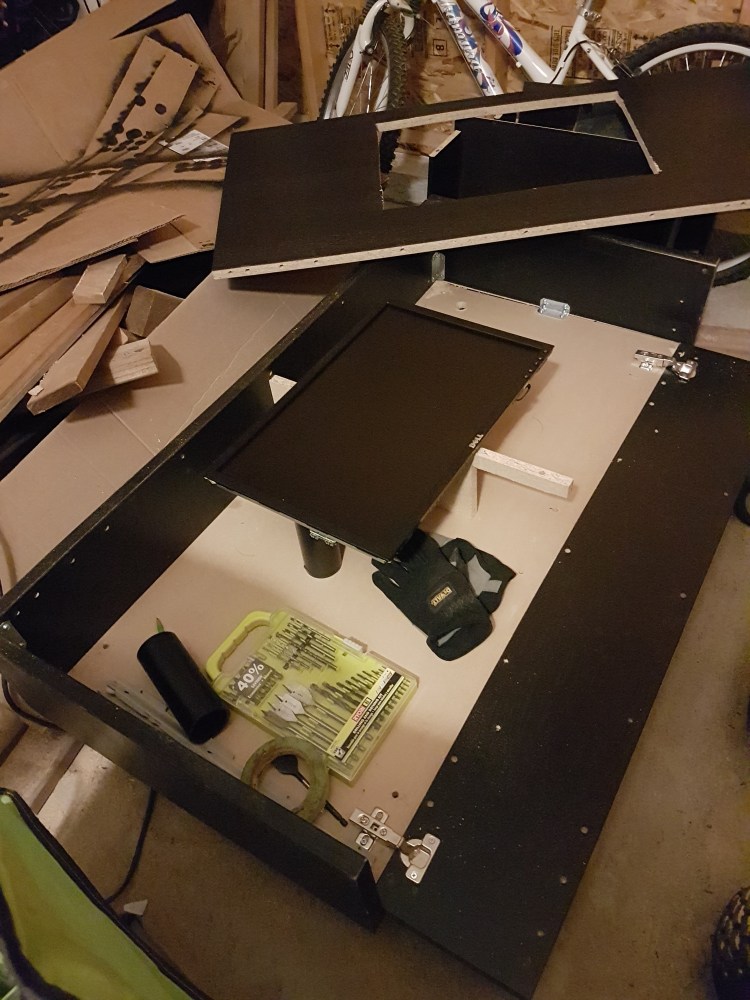
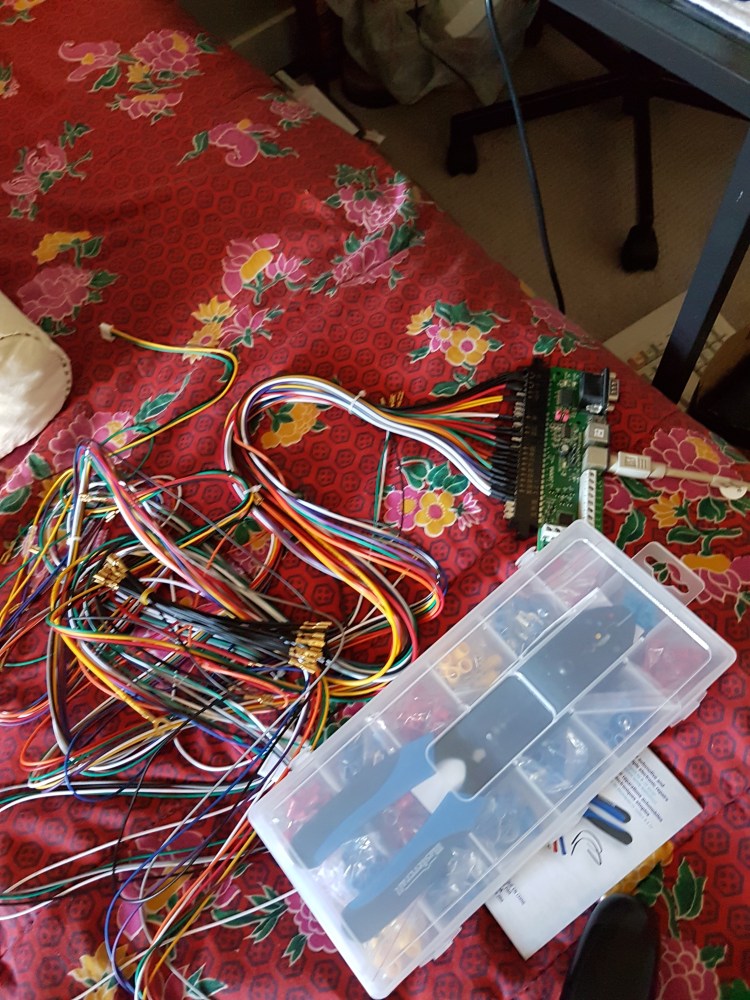
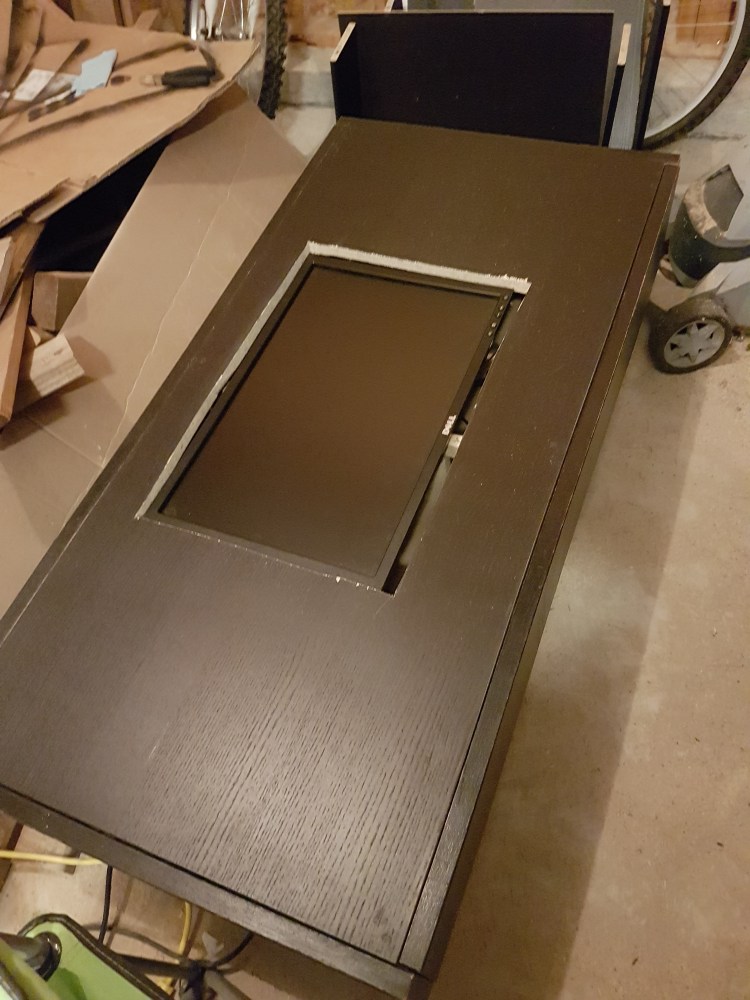
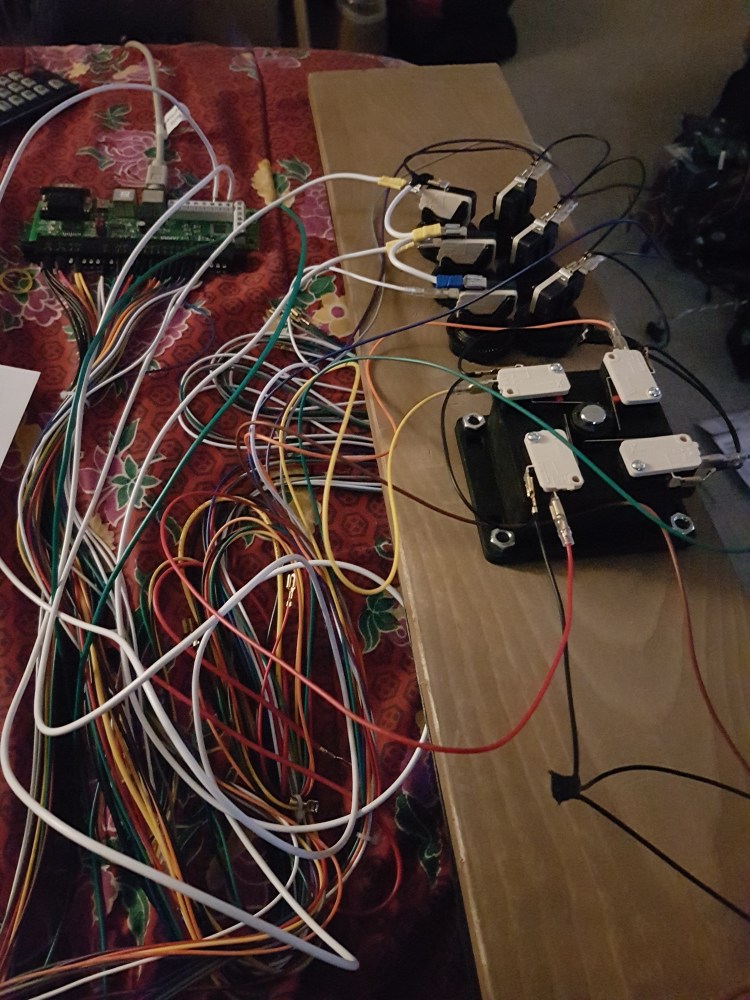
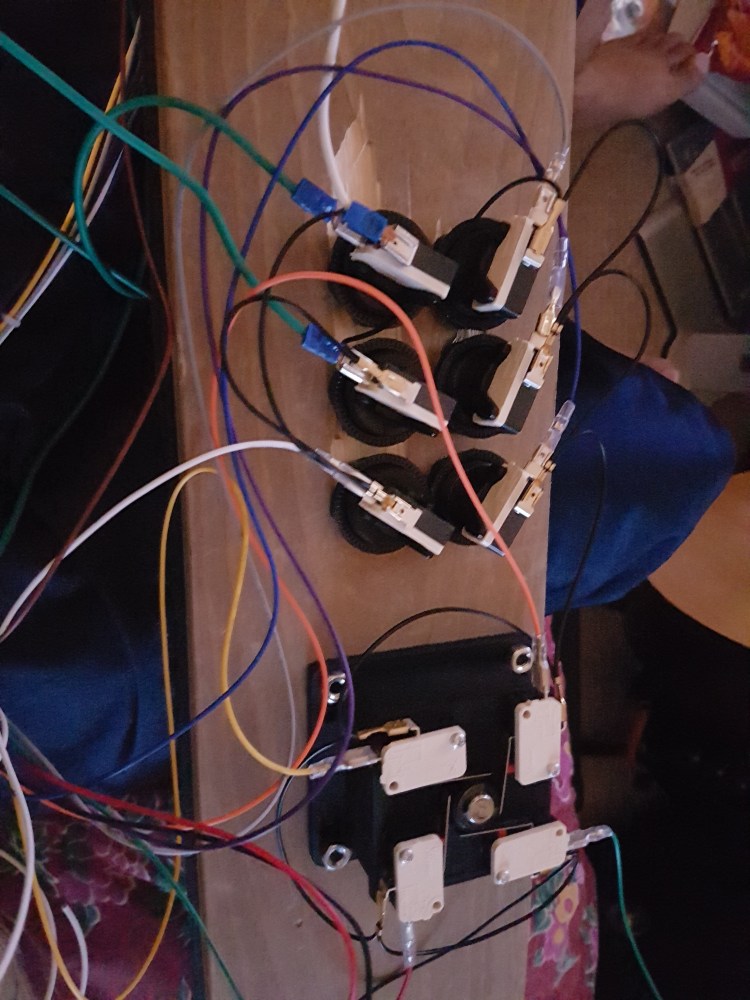
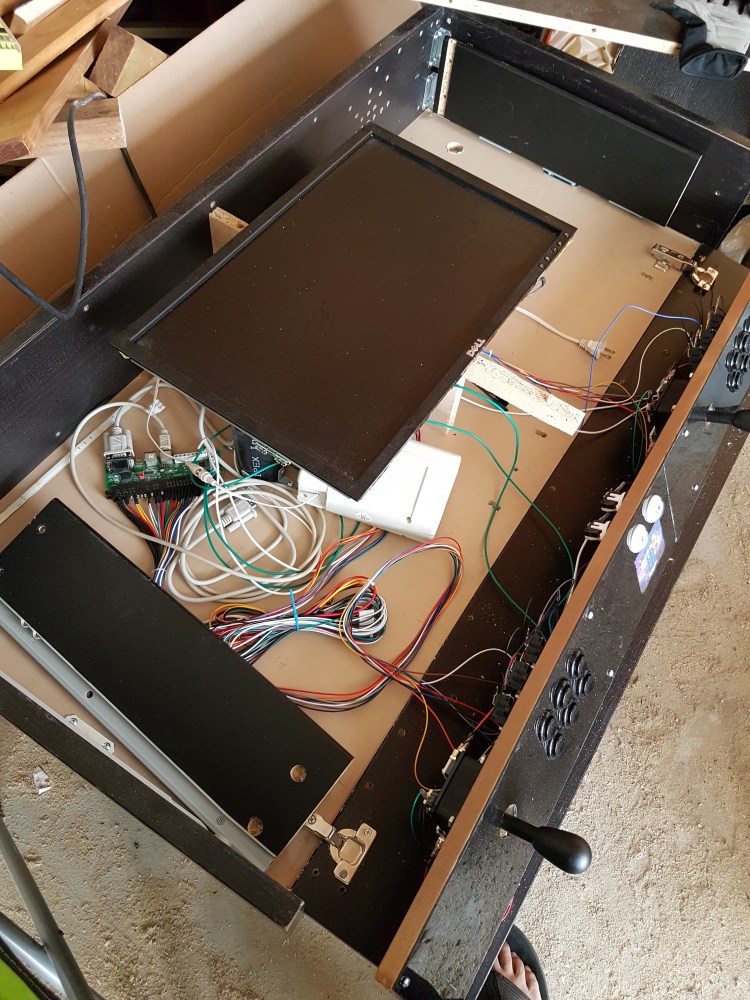
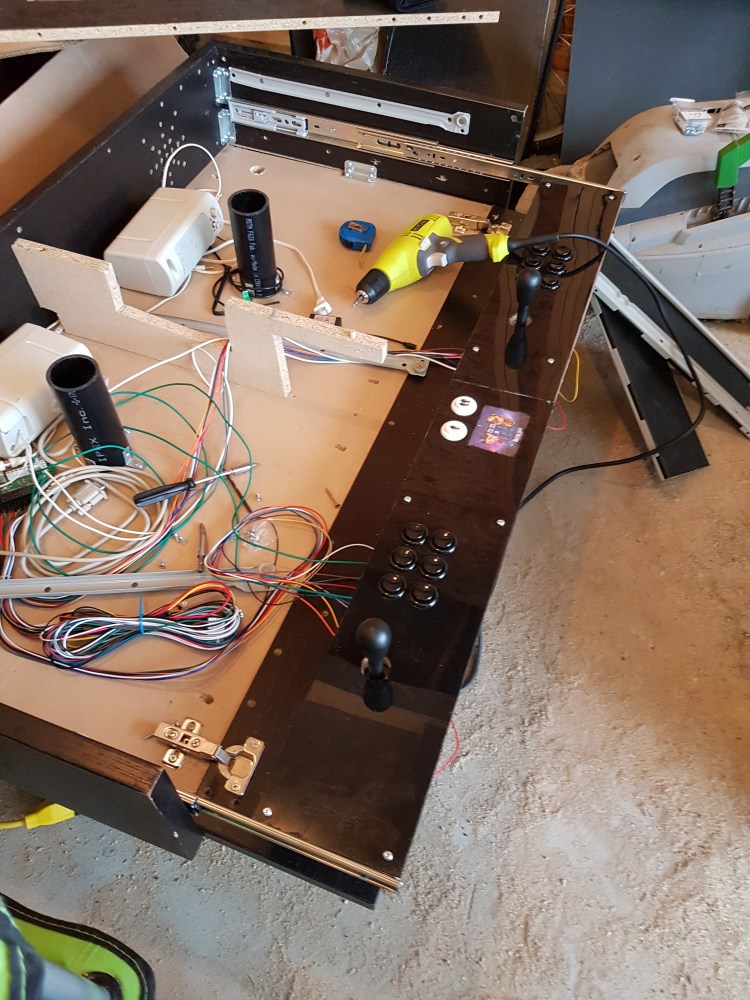
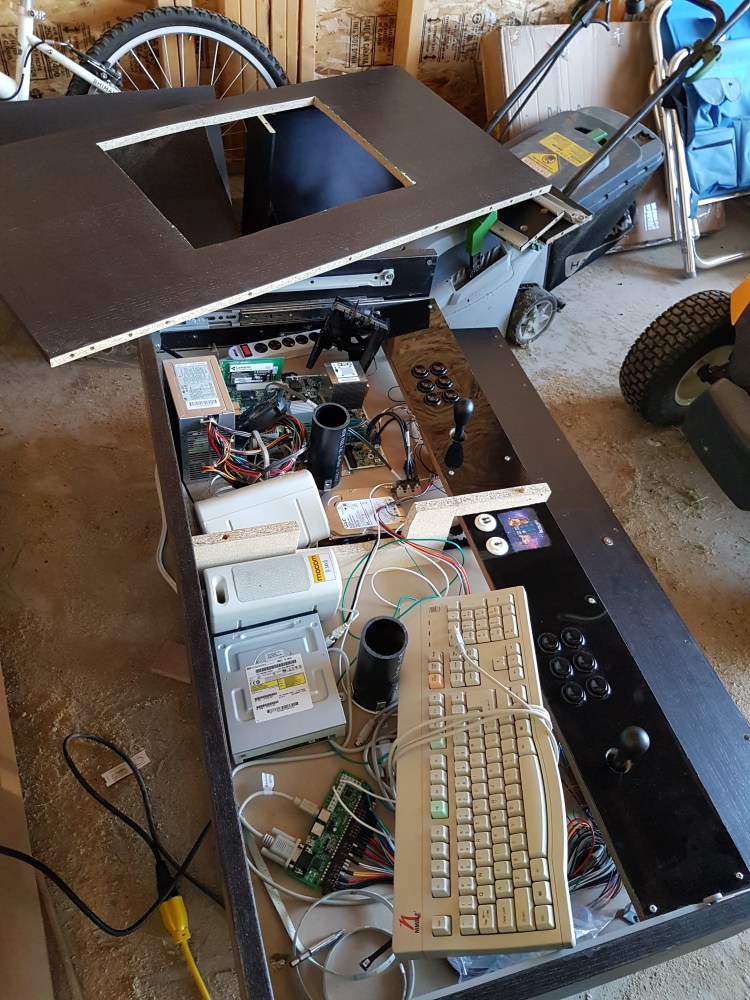
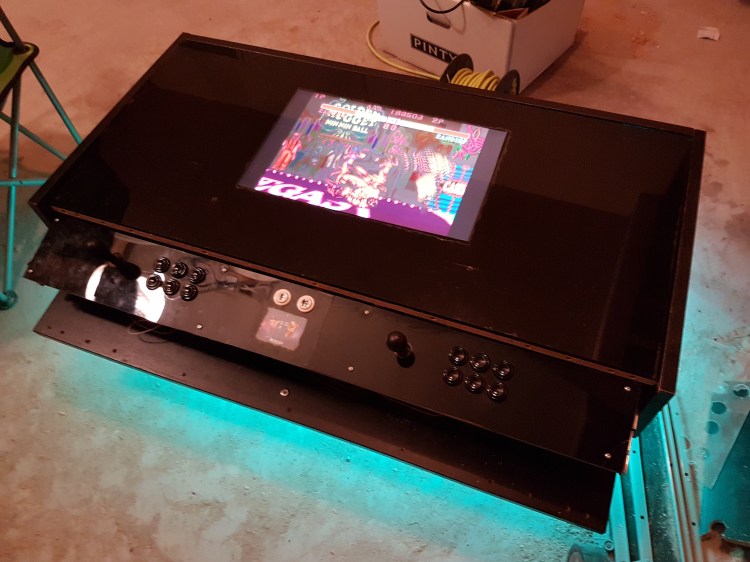
In the summer of 2015, I decided to finally follow up on one of my DIY projects and got off my ass to build a coffee table M.A.M.E. arcade machine. It all started with getting an old Ikea coffee table. This particular table was a bit difficult to find and took a while to finally procure on Kijiji. Once I obtained the table it was time to get to work on modifying it. First I had to take off the top of the table and cut a rectangular hole big enough to cover the size of the monitor. The front panel was to be taken out and converted to open with a latch. Next was to create a control panel. I measured the wood and cut out plexiglass to match. Drilled in the holes for the joy sticks and buttons. I used some black plastidip paint to paint the side of the plexiglass that will be in contact with the wood panel. Once the paint dried, the plexiglass and wood were carefully screwed together. The slightest increase in pressure could have cracked the entire plexiglass panel. The joysticks and buttons then come together with their respective holes on the wood and plexiglass and screwed on the wood. The control panel is assembled.
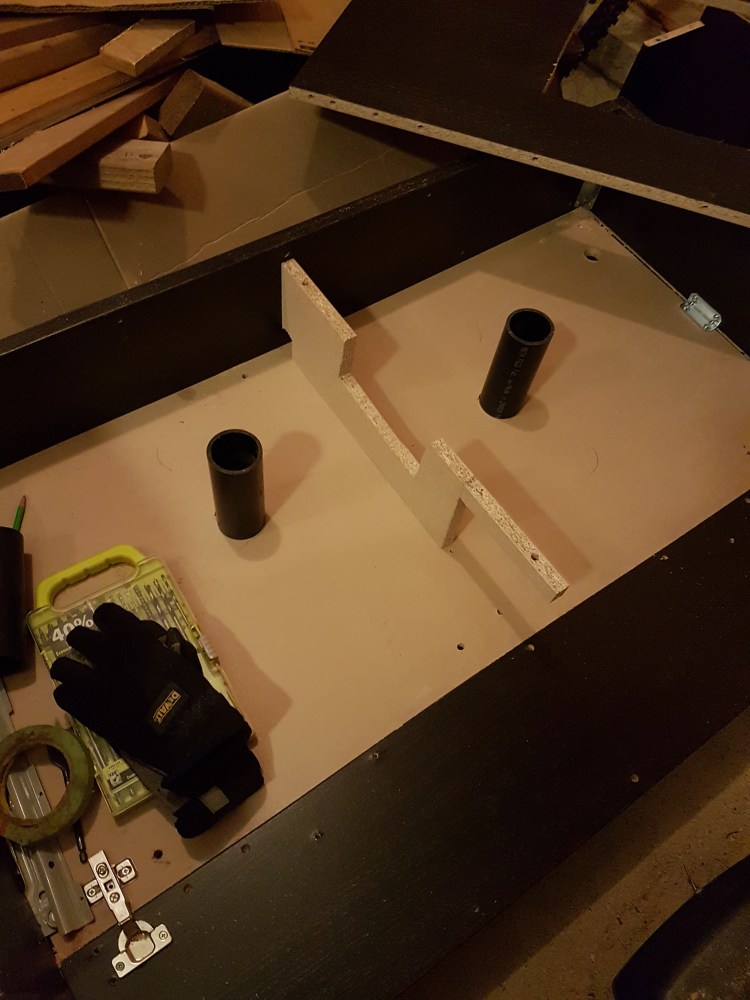
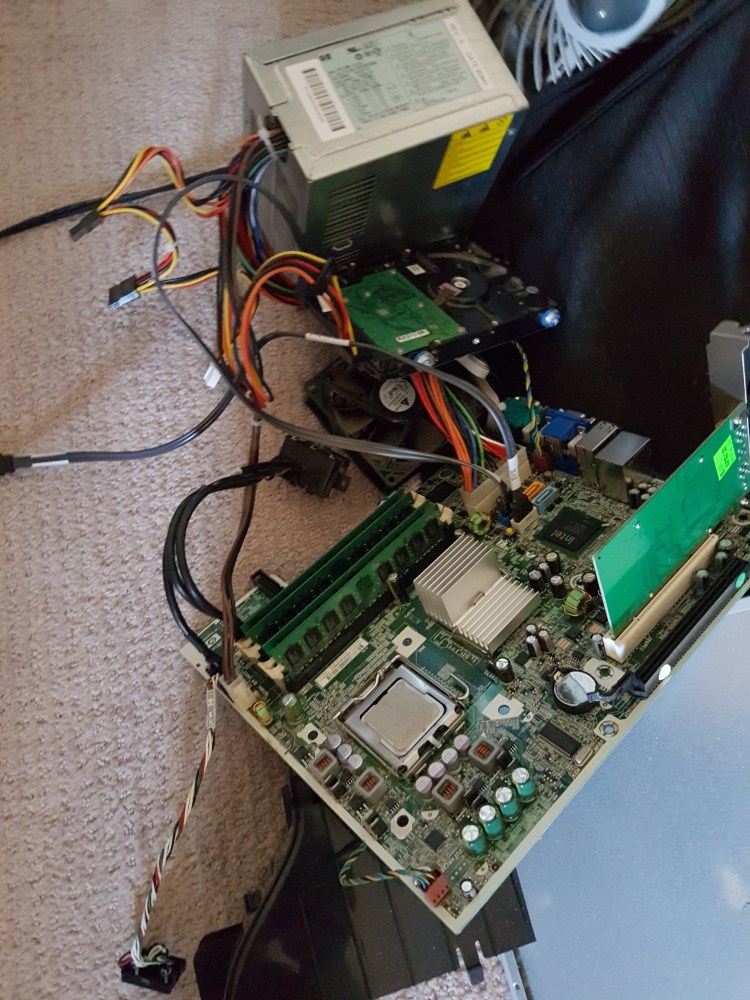
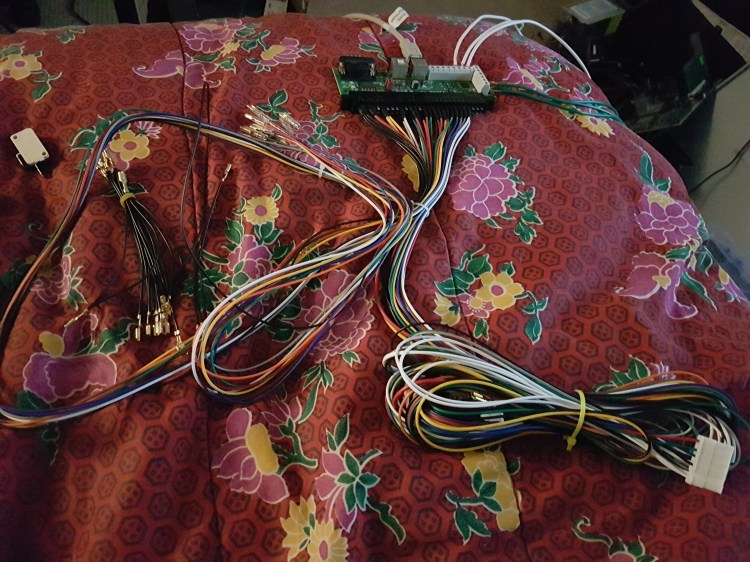
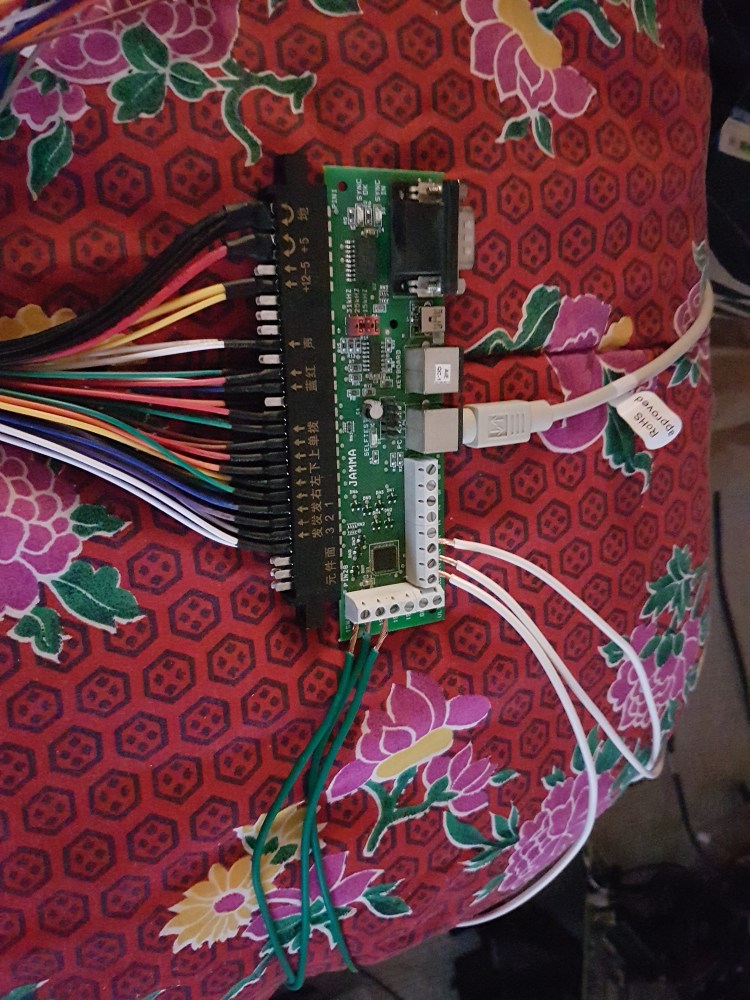
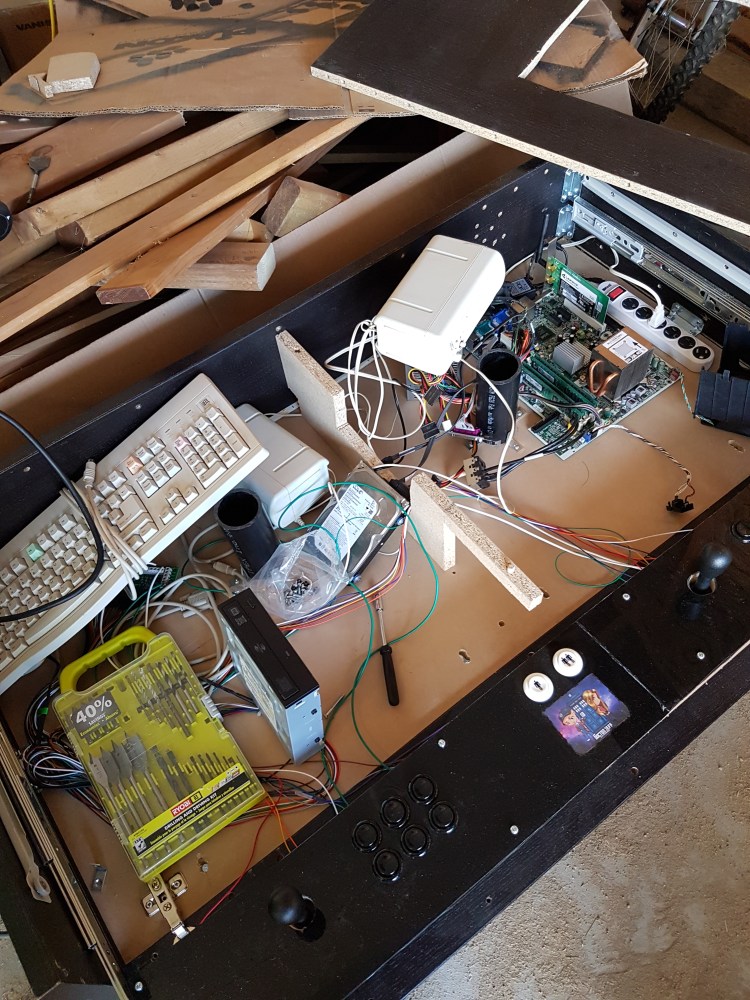
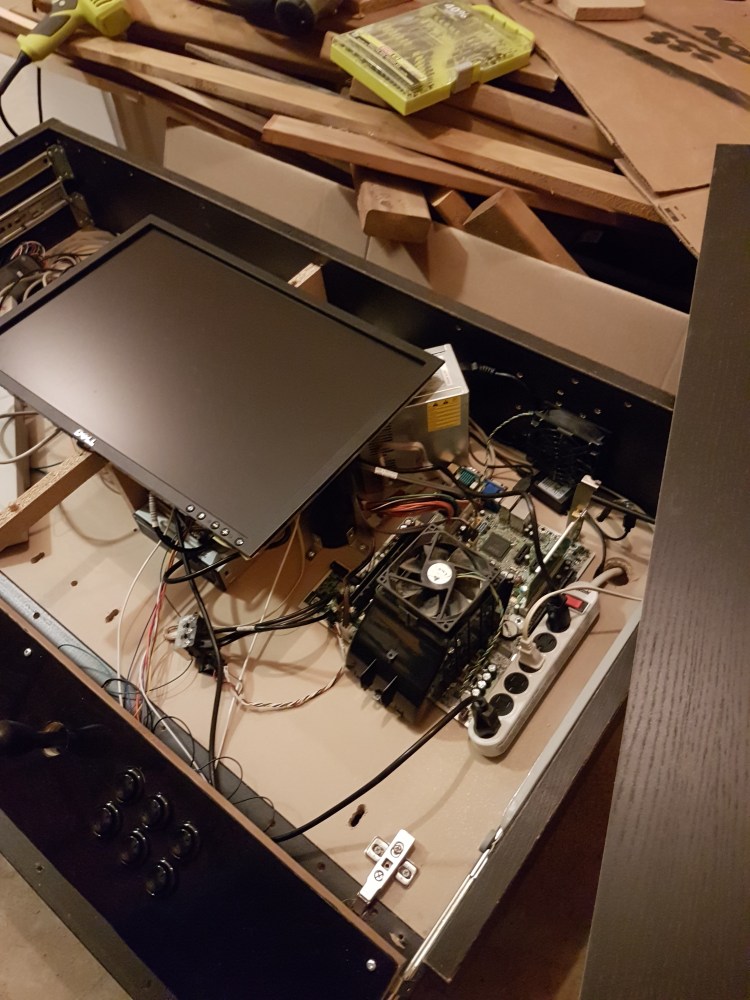
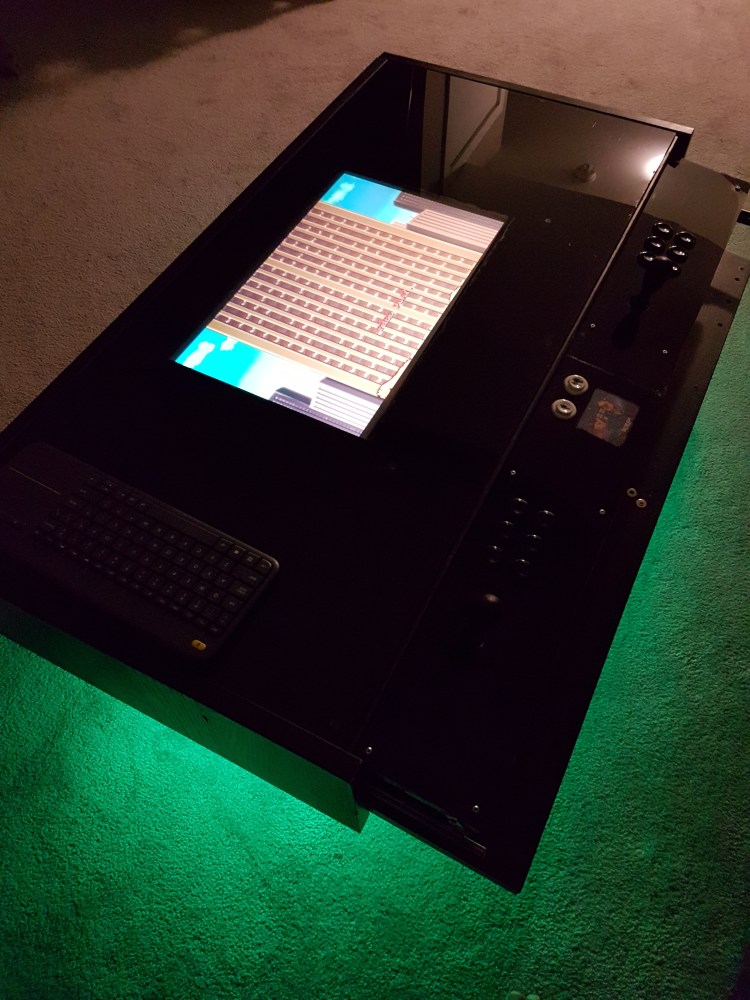
From an old pentium4 machine, I took out the internal parts and incorporated them within the table. Holes have been drilled in the back of the table to ensure proper cooling. I needed to somehow connect the arcade style controllers to correspond with the computer keys. Enter j-pac controller board. With the help of the j-pac controller, I was able to connect the arcade controllers with the computer keyboard through a Jamma harness along with some crimping. I tested to make sure everything was functional and… success. At this point I decided to add a little flare to the device and got some LED light strips. I placed the LED strip on the bottom perimeter of the table and partially inside. I broke out the old plastidip once more to paint the glass panel to finish off the top of the table. I placed a power bar within the table and plugged in the computer power and snake the power bar cord through a hole at the corner of the table. Plugged in the cord to an external extension cord and voila! The table is complete. It is an ongoing project as changes need to be made with how the control panel is setup, but for the most part it is functional and satisfying when in the mood for nostalgia.